Tin cans are made to hold liquid, so they are perfect to use as a vase. Today I want to show you how I used two tin cans to make one vase with an antique finish.
This is how I turned two into one
BEFORE:
I started with Two Empty Soup Cans
A Basic Can Opener is the only tool I used for this project.
I took the bottom off one of the cans with the can opener
Now I have a cylinder
Now it is one tall vase
To give it an antique look...I used a foam brush and gave it several coats of black craft paint. I mixed and layered different craft paint colors. I used: black, burnt umber, turquoise & gold metallic craft paint.
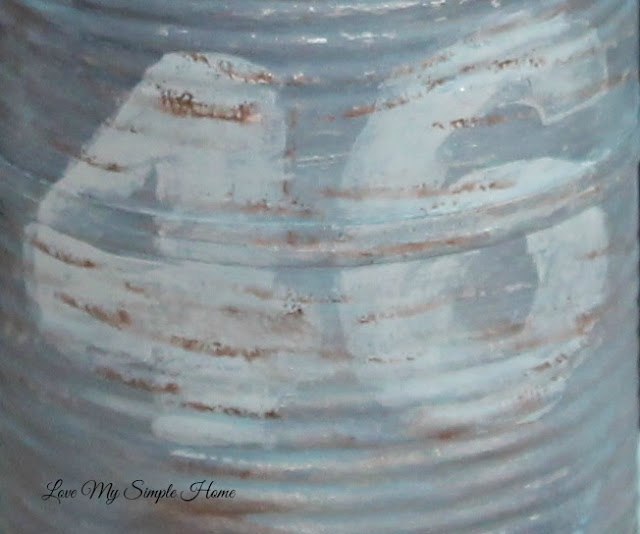
I made stencils by cutting numbers off a tag. (The kind you get when you service your car) I painted the back of the numbers gray and pressed them on the can and peeled them off. I used a thin paintbrush to fill in the empty spaces.
I love how the cotton spray stems look in the vase!! The stems come in a set of three and you can purchase them at Wayfair.com.


I love the look of this - and the stencil is brilliant! I am not a frequent pinner, but I pinned this. Thanks!
ReplyDeleteThank you so much Judy for the visit and for pinning!!
DeleteGenius & cute!! thanks
ReplyDeleteThank you Mary!!
DeleteWhat a brilliant idea to put the two cans together to make them the right shape for a vase. And your cotton plant is just beautiful in it.
ReplyDeleteThanks so much Rebecca!!
DeleteI am always looking for ways to display on my craft table. super cute and inexpensive. thank you for sharing
ReplyDeleteWow, what a brilliant idea!! I have tons of tins, I think I will give it a try!!
ReplyDeleteThanks for sharing the how to, pinning!!
So ingenious to stick two cans on top of each other! Visiting from Blogtalk.
ReplyDeleteI'm having a little trouble with your terminology about the numbers. What do you mean that you cut the numbers off of a tag? A price tag? Was this a cardboard type of material that withstood being painted and used as a stamp? Sorry for the questions, usually I have a quicker grasp of the instructions, lol.
ReplyDeletehttp://www.lovemysimplehome.blogspot.com/2013/06/free-number-tags.html I am happy to help you with my terminology about the numbers. The tag I was referring to is a tag you would get when you get your car serviced. You can see the tags I used in this post..
DeleteJust found this on HomeTalk and love, love, love it! I will be saving for future use.
ReplyDeleteSo happy you found me on hometalk! Thanks you for the visit!
DeleteFound you on Pretty Handy Girl. This is awesome. I pinned it.
ReplyDeleteThank you so much for the visit and for pinning!
DeleteLove having you visit with your awesome projects! Kudos!!
ReplyDeleteThank you so much Emily!
DeleteBrilliant idea. Haven't thought put the two tins together. Love this DIY tin vase. Thanks for posting.
ReplyDelete